VibeMemory Agent
VibeMemory is an AI assistant designed to help you structure your Knowledge Base without needing to configure technical parameters manually. After selecting your desired Workspace and creating or selecting the reference Cluster, follow these steps to generate your nodes.
-
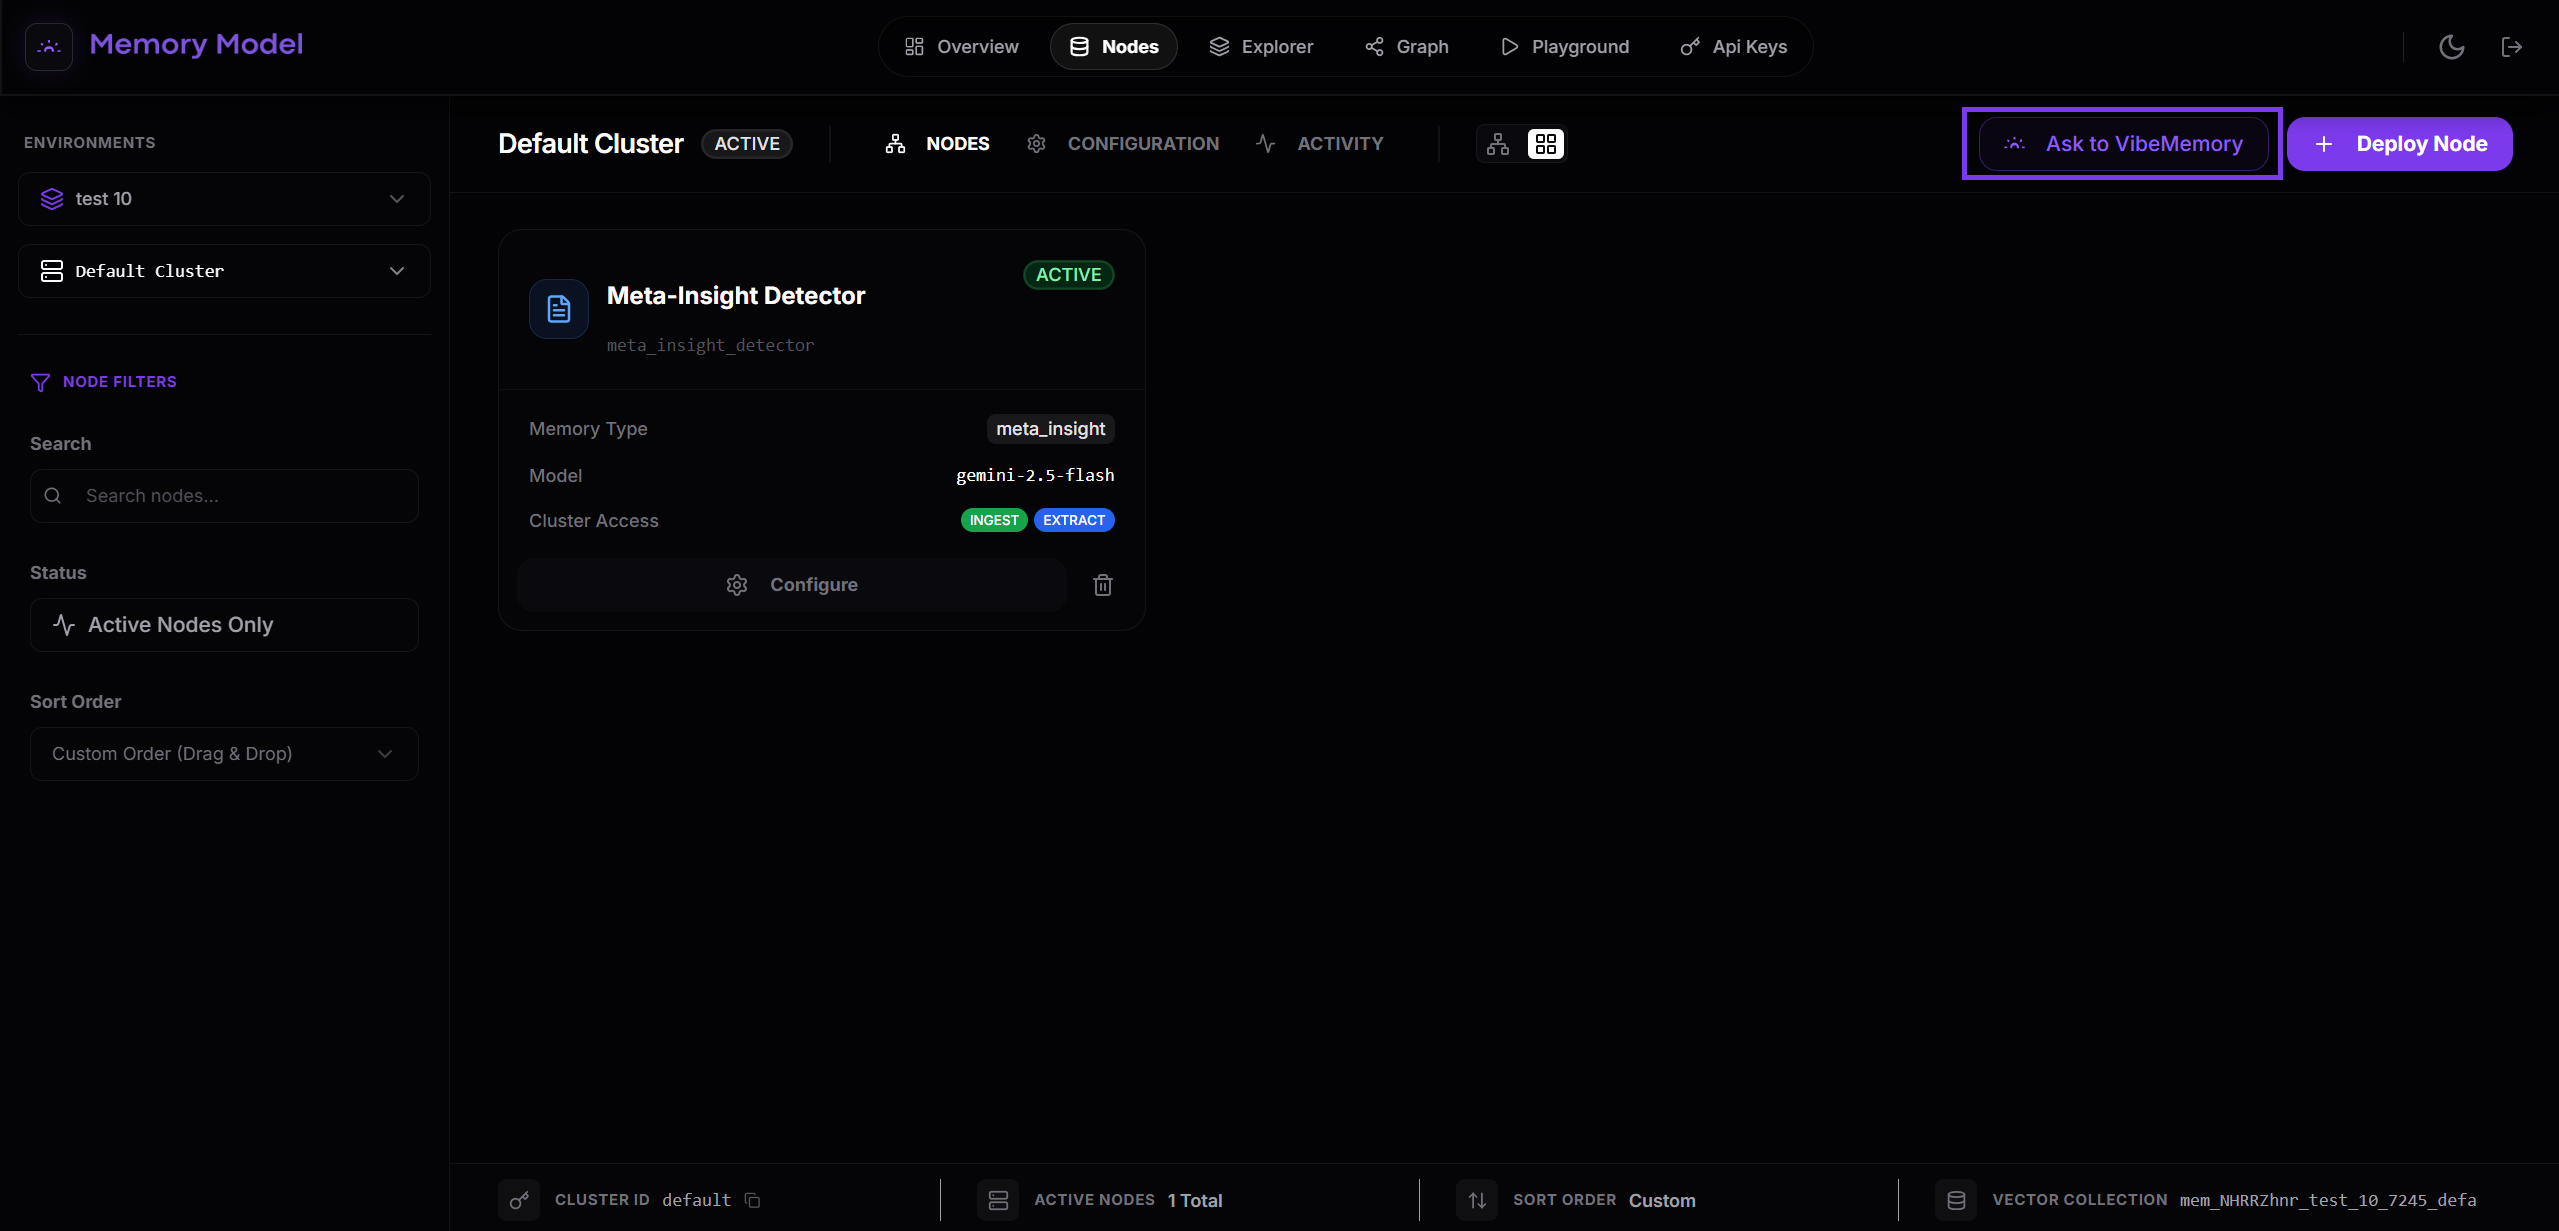
Launch VibeMemory
From the main dashboard of your environment, locate and click the “Ask to VibeMemory” button situated in the top right corner.

-
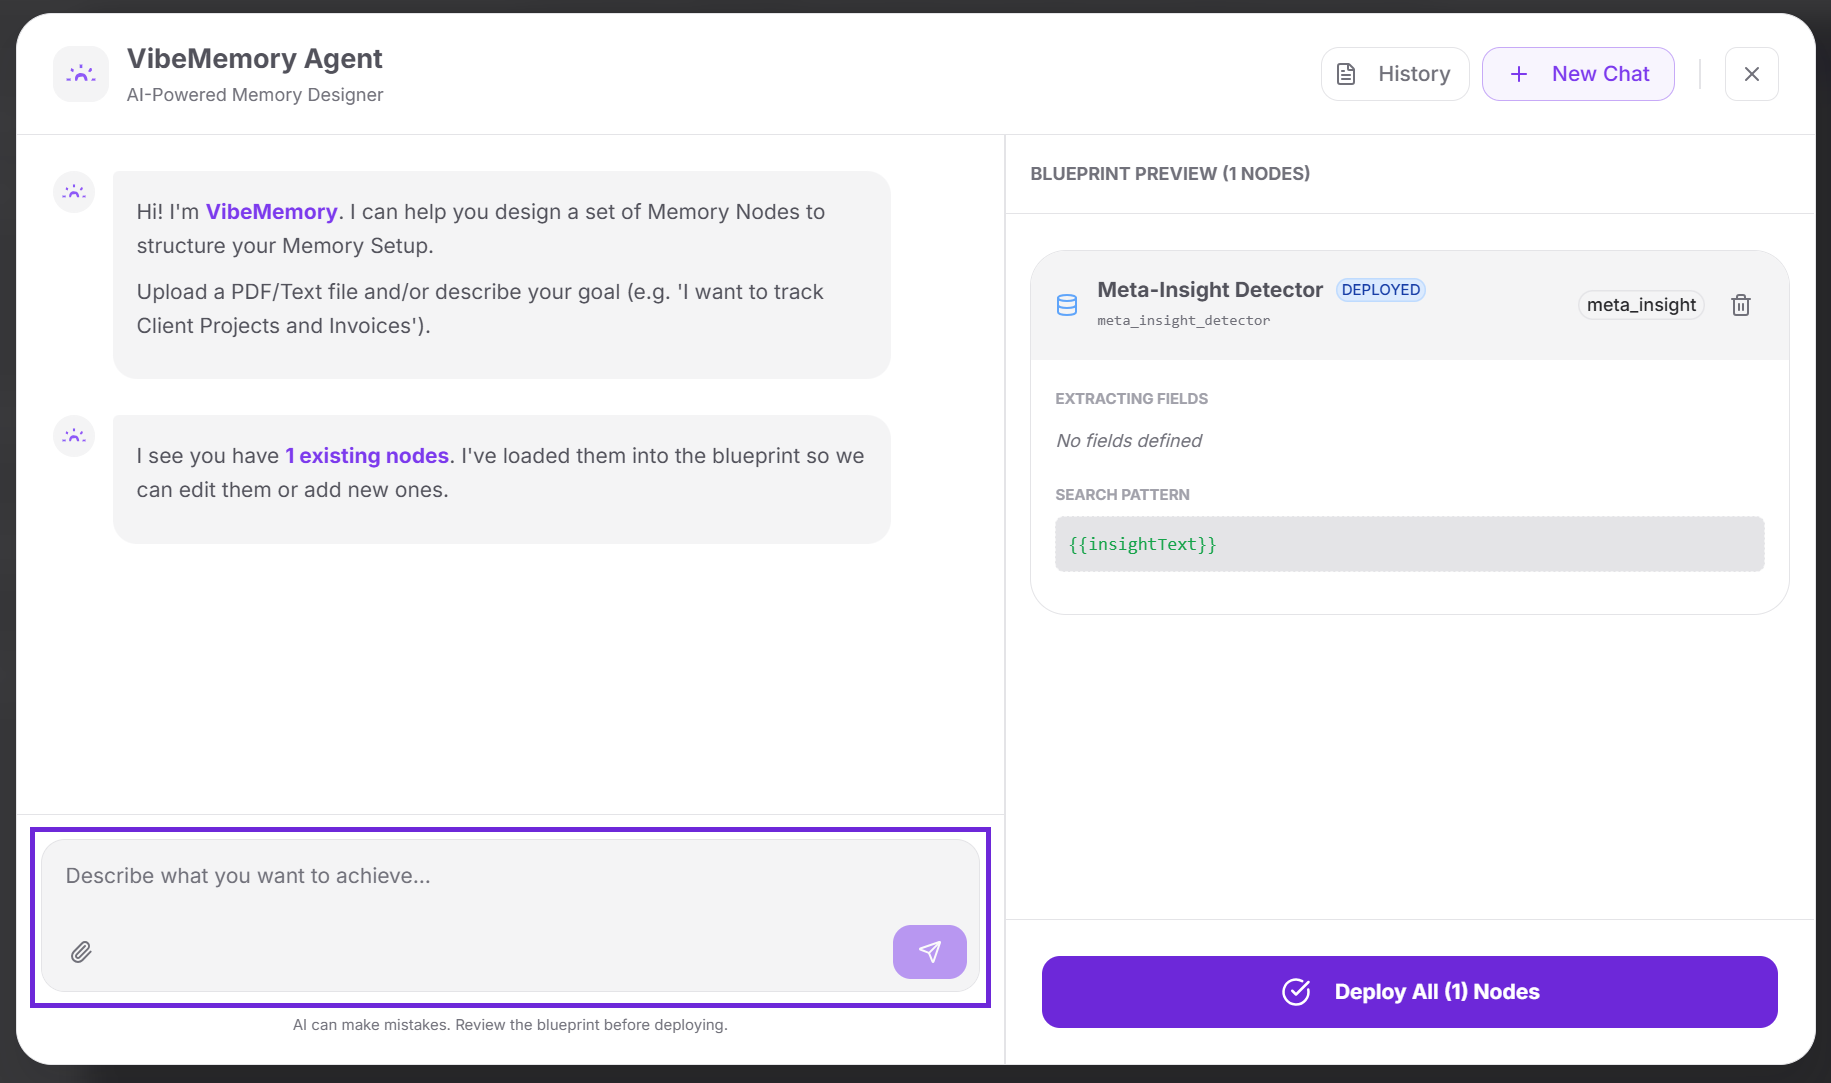
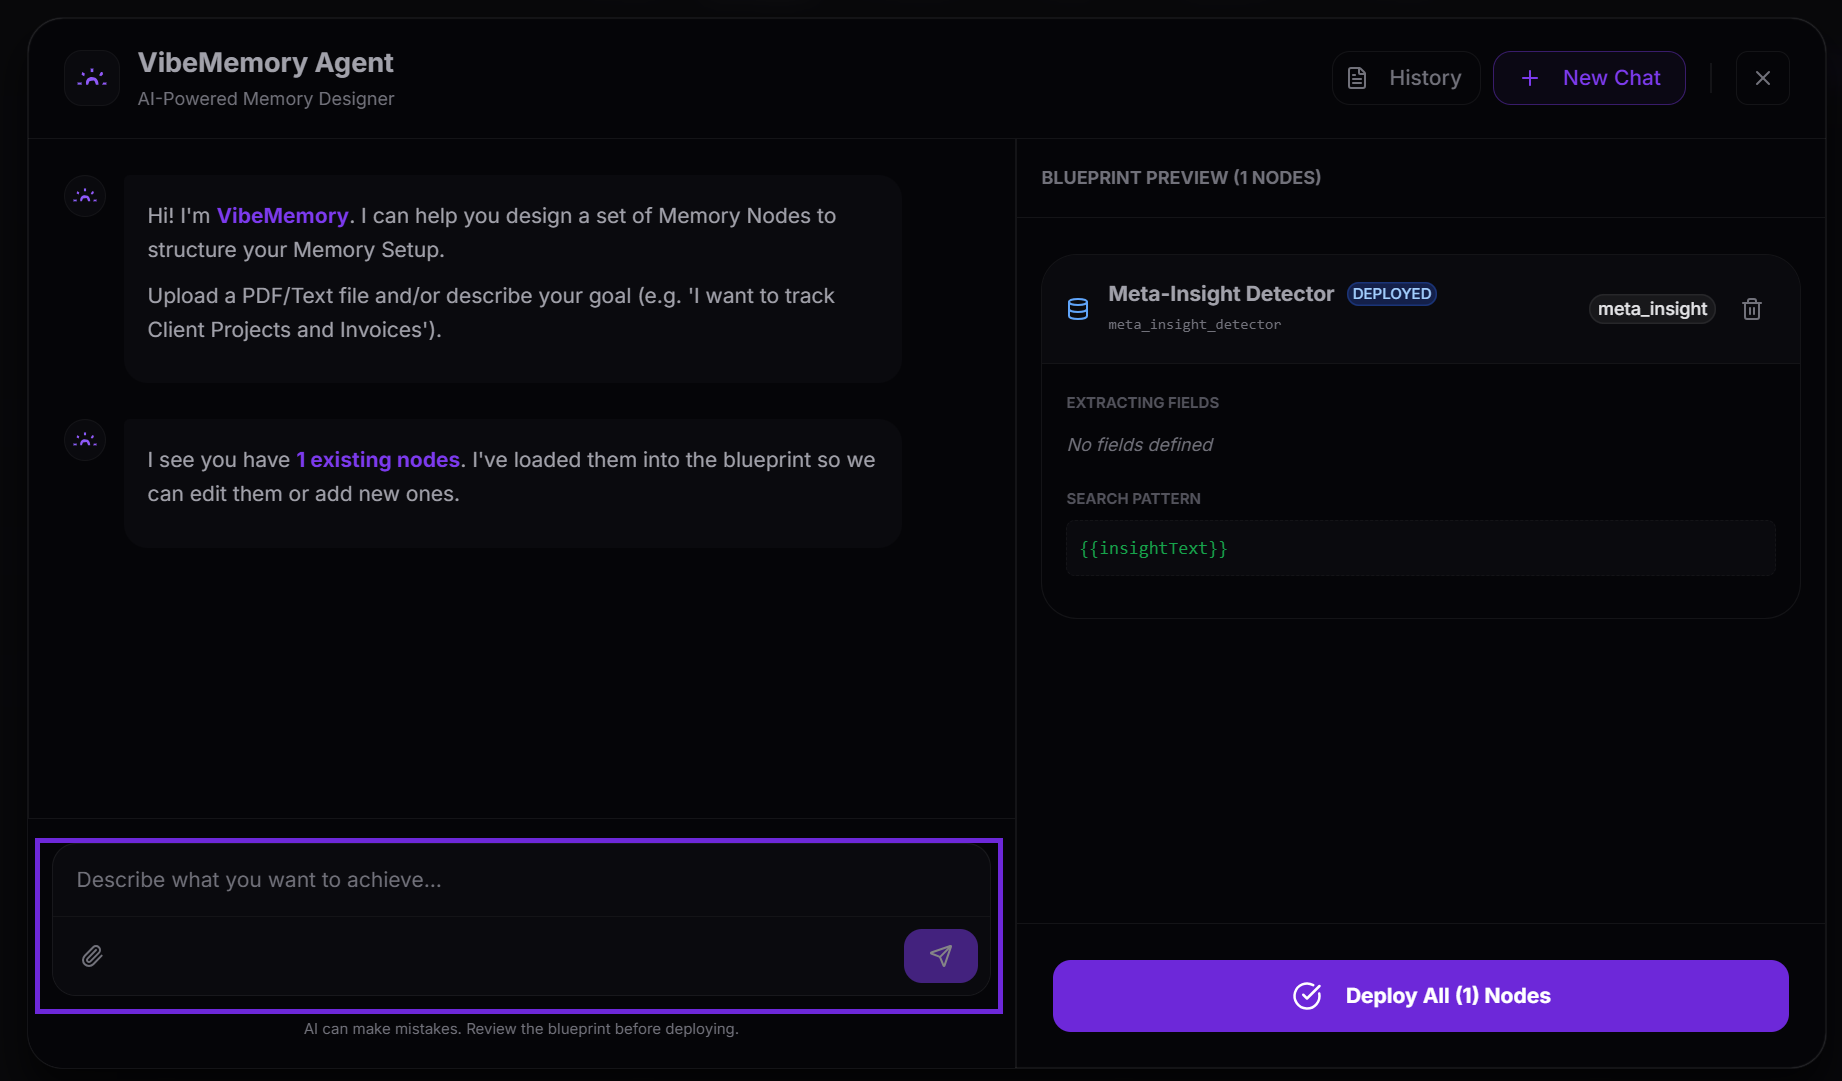
Define your Goal
Once the chat interface opens, VibeMemory is ready to assist. You have two ways to interact:
- Text Description: Simply describe your objective in natural language (e.g., “I want to track Client Projects and Invoices”).
- From Documents to Architecture (Zero-to-One): Ideal for initial setup. You can upload technical specifications, manuals, or business documents (PDF or Text). VibeMemory will analyze the content and design the entire Node structure required for your project from scratch, without you needing to write a single line of JSON.
-
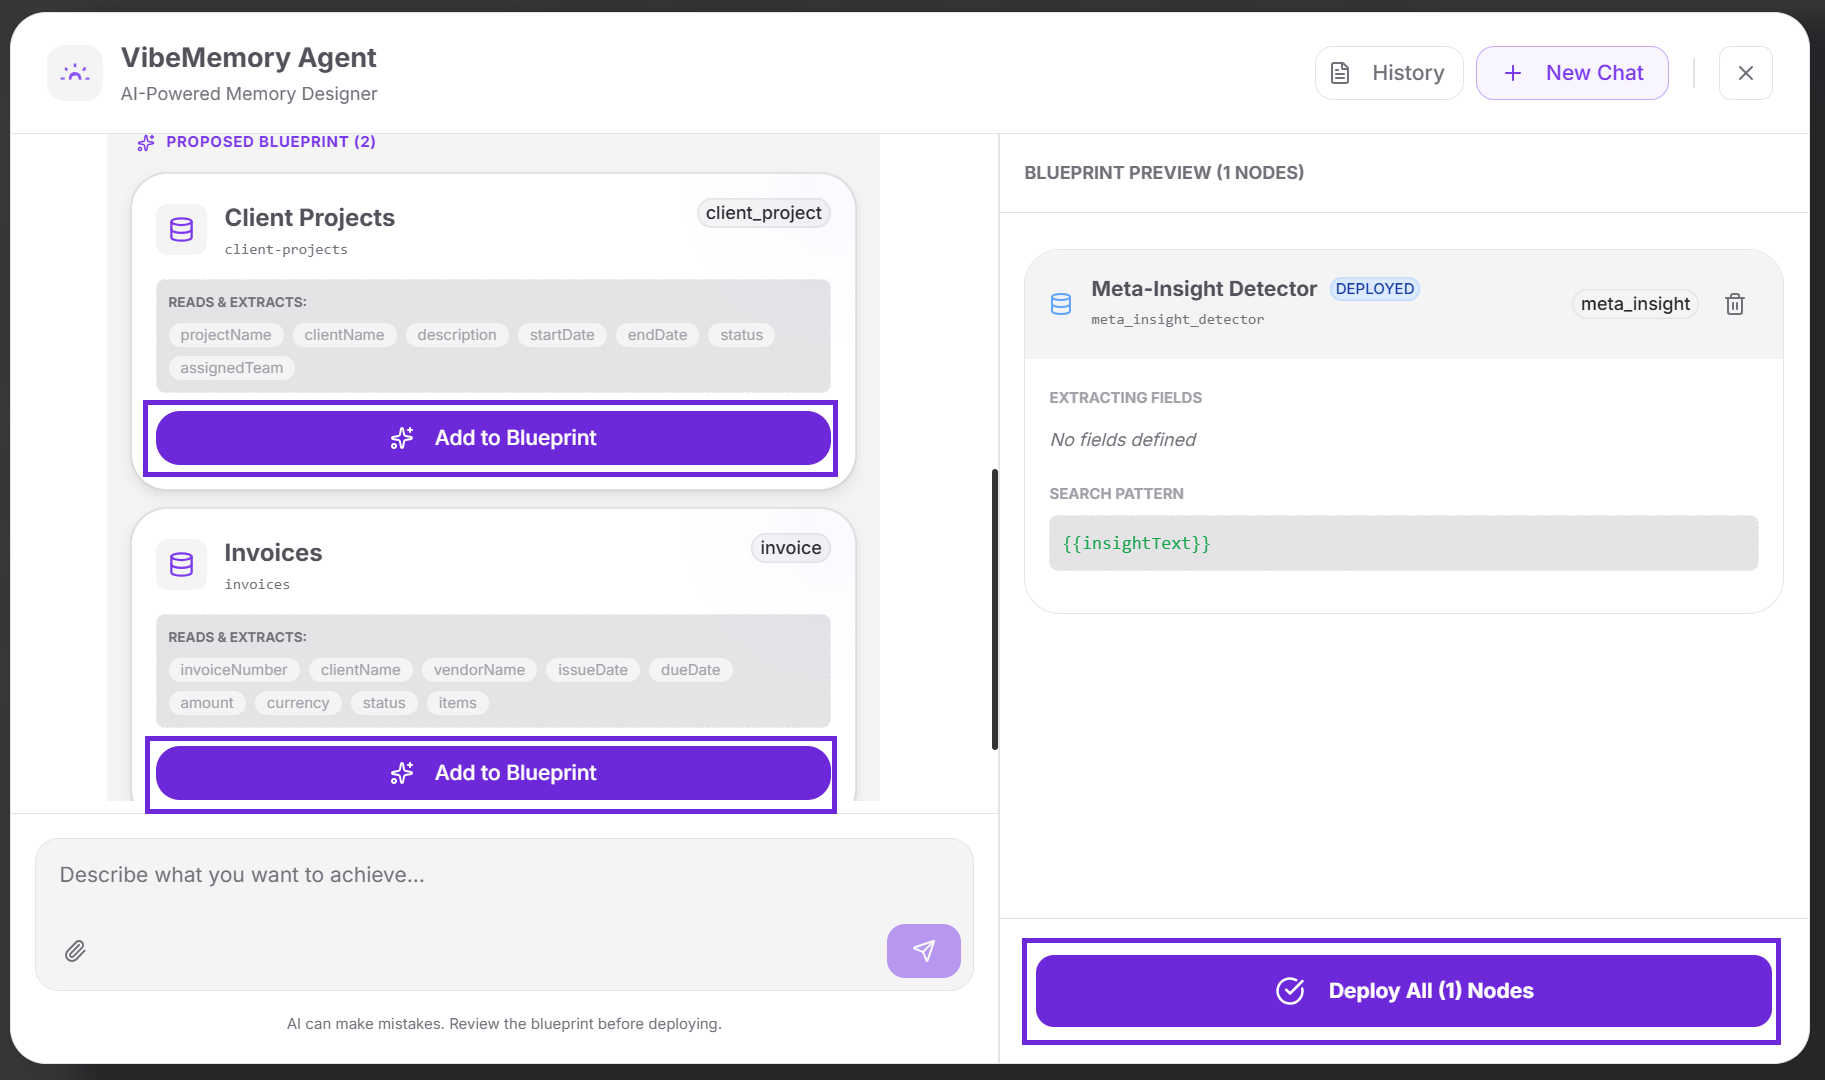
Generate and Review Blueprint
After analyzing your input, VibeMemory will propose one or more nodes optimized for your use case.
- A “Proposed Blueprint” will appear in the chat stream.
- If the proposal meets your needs, click “Add to Blueprint” to move the nodes to the staging area.
-
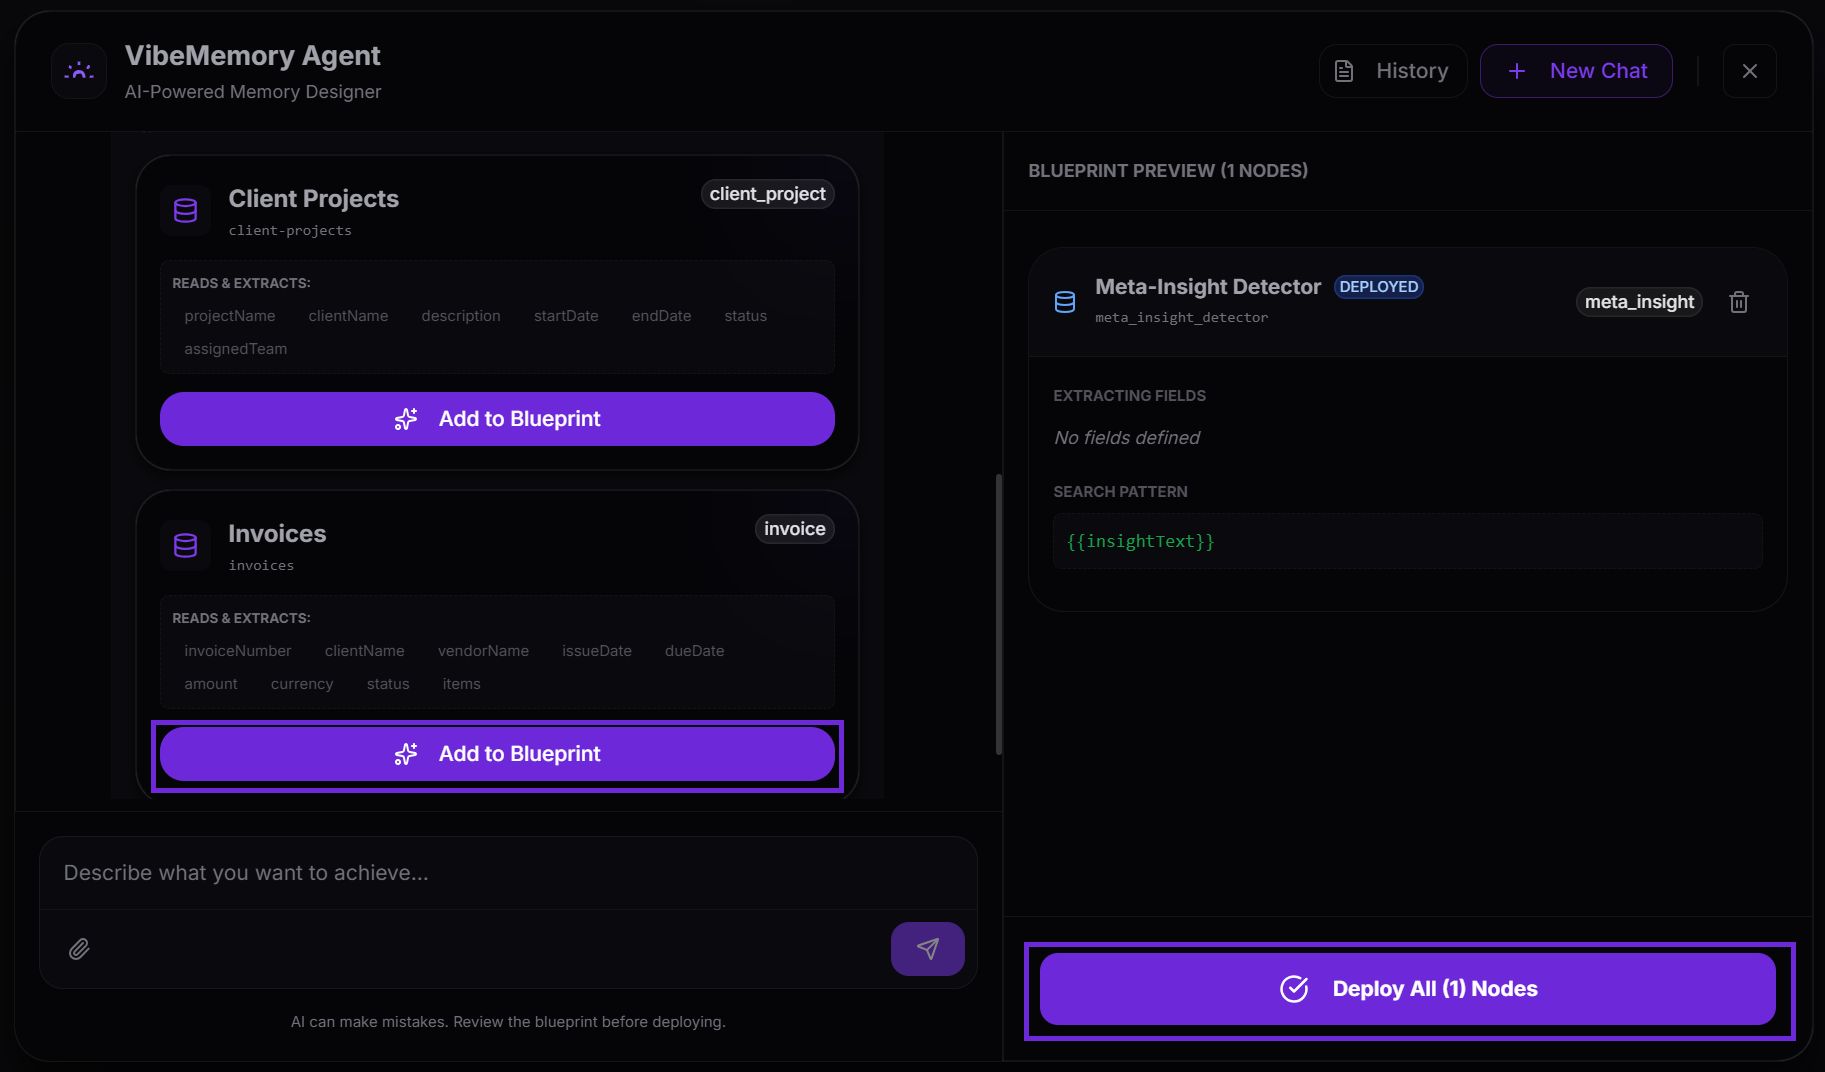
Blueprint Preview (Staging Area)
Nodes are not created in the cluster immediately. The “Blueprint Preview” sidebar acts as a staging list where you can review technical details before deployment:
- Extracting Fields: The specific data points that will be pulled from documents.
- Search Patterns: The logic used for semantic retrieval.
- System Prompts: The instructions that define the node’s behavior.
- “Blueprint Preview”: The sidebar acting as a staging list where you can review technical details before deployment.
-
Deploy Architecture
Once you have confirmed the structure in the Preview, use the bulk deployment flow:
- Click the “Deploy All Nodes” button at the bottom right.
- The system will instantly create the entire architecture within your selected cluster, making the nodes active and ready for use.